Transform your space into the ultimate viewing area with our expert TV installation and setup guide!
Elevate your entertainment experience with the perfect television setup. Our guide walks you through creating an optimal viewing area, ensuring every movie night or gaming session is immersive. From analyzing room acoustics to fine-tuning settings, we’ll show you how to install and adjust your TV for peak performance.
Setting Up Your Viewing Area
Analyzing Room Acoustics and Light
Creating an ideal viewing area in your home starts with understanding and optimizing the acoustics and lighting of the room. How sound travels and how light affects the screen can significantly impact your viewing experience.
First, consider the acoustics of the room. Hard surfaces can cause sound to bounce around, leading to echoes and a less clear audio experience. To combat this, you can use rugs, curtains, and soft furnishings to absorb and soften sound. If you’re an audiophile, investing in acoustic panels can provide even more control over the sound quality.
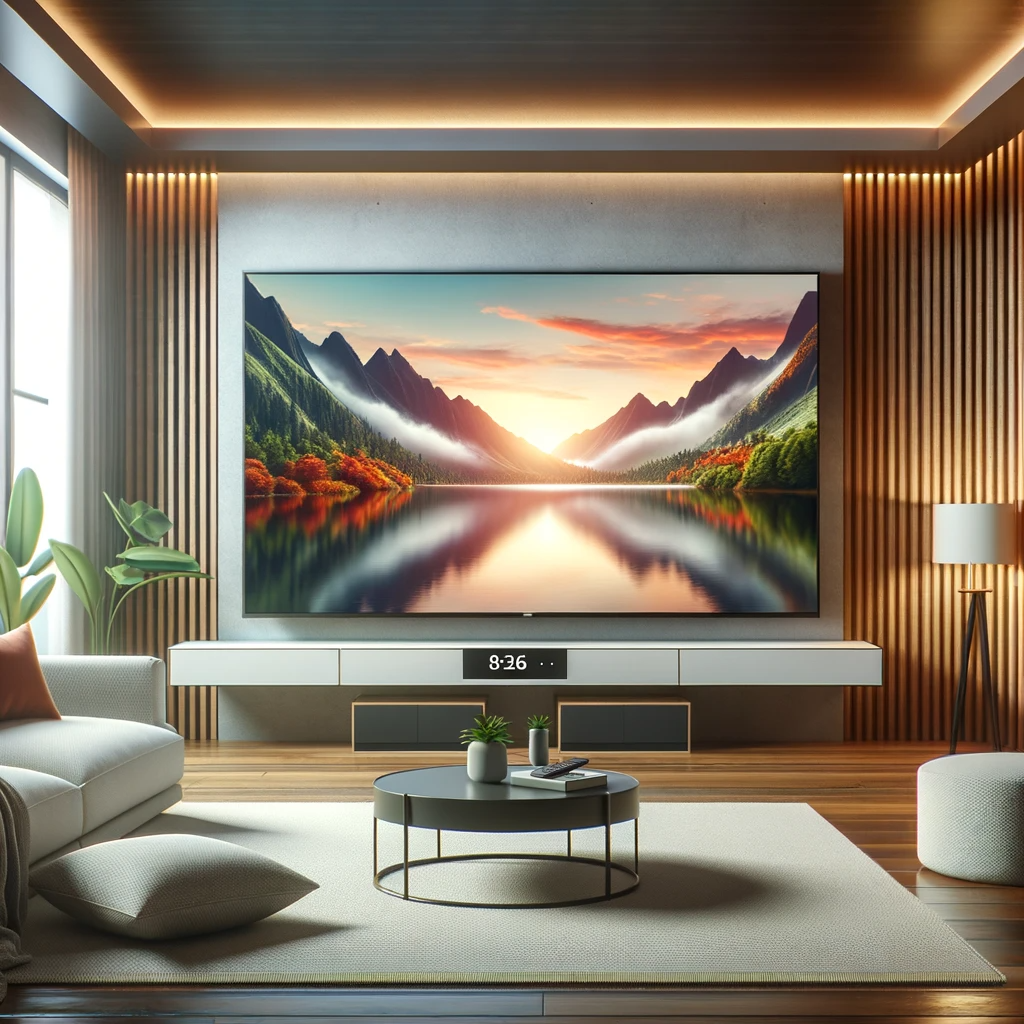
Lighting is equally essential. Excess natural light or glare can make it difficult to see the screen correctly. To reduce glare, position your television away from direct light sources, such as windows, or use blackout curtains or blinds to control natural light. Using ambient lighting, such as floor lamps or LED strips behind the TV, can also reduce strain on your eyes, especially in darker viewing environments.
Additionally, consider the color of the walls in your viewing area. Neutral or darker colors absorb light better and reduce screen reflections, enhancing the overall visual quality.
Furniture Arrangement for Comfort
Once you’ve optimized the room’s acoustics and lighting, the next step is arranging your furniture for maximum comfort and viewing pleasure. The layout should provide a clear, unobstructed view of the screen from all seating positions.
The primary factor in furniture arrangement is the distance between your seating and the television. The viewing distance should be about 1.5 to 2.5 times the diagonal size of your TV screen. For example, for a 50-inch TV, you should sit between 6.25 and 10.4 feet away for the best viewing experience. This distance ensures you can see the entire screen without straining your eyes. It plays a role in the immersive audio experience.
The height of the seating is another important consideration. Ideally, the center of the television screen should be at eye level when you’re seated. This prevents neck strain and provides the most comfortable viewing angle. If you use a TV stand, ensure it is positioned at the right height. Wall mounts offer more flexibility in adjusting the height and angle of the screen.
Arranging your furniture to face the television directly is ideal. Still, it would help if you also considered the overall flow of the room. Allow for easy movement and avoid overcrowding the space. Consider versatile furniture arrangements if your room is multi-functional, or mount the TV on a swivel bracket for adjustable viewing angles.
For a genuinely comfortable viewing experience, invest in comfortable seating. Couches, recliners, and bean bags make your viewing area more inviting. If space allows, creating different levels of seating, like a stepped arrangement, can replicate a theater-like environment.
Technical Aspects of TV Installation
Wall Mounting Techniques
Wall mounting a television can significantly enhance your viewing experience by saving space and providing optimal viewing angles. The first step in wall mounting is selecting the right bracket for your TV. Ensure the mount is compatible with the size and weight of your television. VESA standards, which refer to the distance between the mounting holes on the back of the TV, should guide your mount selection.
Once you have the appropriate mount, identify the ideal location on the wall. It should be at eye level when seated and away from direct light sources to avoid glare. Using a stud finder, locate the studs in the wall to anchor the mount securely. Mark the positions for the drill holes, ensuring they are level.
When drilling and securing the mount, follow the manufacturer’s instructions carefully. Using the right tools and hardware to securely attach the mount to the wall is essential. After mounting the bracket, carefully lift and connect the TV to the bracket, ensuring all screws and fastenings are tight and secure.
Handling and Connectivity Tips
Proper handling of your TV during installation is crucial to prevent damage. Always lift the TV with two people, holding it from the bottom and sides — never by the screen. Remove any plastic film on the screen after the TV is securely mounted to avoid fingerprints or damage.
For connectivity, plan your cable management before mounting the TV. Consider the placement of power outlets and the length of the cables needed to connect to other devices like cable boxes, gaming consoles, or sound systems. Cable ties and conduits can help manage and conceal wires for a clean and organized setup.
If your TV is an intelligent model, ensure it’s within range of your Wi-Fi router for optimal streaming performance. Use an Ethernet cable for a more stable connection for wired internet connections. HDMI cables are essential for high-definition video and audio from external devices. If your TV supports HDMI ARC (Audio Return Channel), use this to simplify the connection and control of audio devices
like soundbars or home theater systems.
Consider using surge protectors to safeguard your television and connected devices from power surges. This simple addition can prevent potential damage from electrical fluctuations and ensure the longevity of your entertainment setup.
Post-Installation Adjustments
Balancing Color and Contrast
After installing your television, fine-tuning its picture settings is crucial for the best viewing experience. Balancing color and contrast effectively can significantly enhance image quality. Most TVs have preset picture modes like ‘Cinema’ or ‘Sports.’ Still, a manual adjustment might be necessary for optimal results.
Start by adjusting the brightness and contrast settings. Brightness controls the black levels in the picture, while contrast affects how bright the whites appear. Aim for a balance where blacks are deep without losing detail in dark scenes, and whites are bright but not glaring.
Color temperature and saturation are next. Color temperature adjusts the warmth or coolness of the picture. A setting that’s too warm may look orange, while a setting that’s too cool appears bluish. Saturation controls the intensity of the colors. The goal is to achieve natural, lifelike colors without them being overly vibrant or too dull.
Some TVs also offer advanced settings like sharpness, tint, and individual color adjustments. Be cautious with sharpness; overly high settings can create unnatural outlines. Tint and individual color adjustments can be left at default unless there’s a noticeable color imbalance.
Surround Sound Setup and Calibration
For an immersive audio experience, setting up and calibrating your surround sound system is as important as adjusting your TV’s visual settings. The arrangement of speakers plays a critical role in the surround sound setup. Place the center speaker directly above or below the TV, aligning it with your seating area for clear dialogue. The front left and right speakers should form a triangle with your seating position. In contrast, the rear speakers should be placed slightly behind and angled towards where you’ll be sitting.
Calibration is critical to ensuring each speaker’s output harmonizes with the others. Many modern surround sound systems come with automatic calibration tools, often using a microphone to measure sound levels from different positions in the room. If your system lacks this feature, you can manually calibrate by adjusting the volume of each speaker to match the others.
Consider the acoustics of the room as well. Hard surfaces can cause sound to bounce and create echoes, while soft furnishings like curtains and carpets can help absorb excess sound. Adjusting the bass levels on your subwoofer is also essential, as too much bass can overpower the other speakers. At the same time, more is needed to leave your audio feeling flat.
Lastly, if your TV and sound system support it, enabling settings like Dolby Atmos or DTS:X can enhance your audio experience, offering more dynamic and spatial sound.
By carefully balancing color and contrast settings on your TV and properly setting up and calibrating your surround sound system, you can create a truly immersive viewing experience. These adjustments ensure that you see and hear every detail as intended, bringing the cinema experience into your living room.
Conclusion
Crafting the ultimate viewing experience in your home extends beyond the initial setup of your television and sound system. Fine-tuning your TV’s color and contrast and meticulously setting up and calibrating your surround sound elevates your audio-visual enjoyment to new heights. These post-installation adjustments are crucial to unlocking the full potential of your entertainment system, ensuring every movie night or gaming session is an immersive, cinematic journey. With these careful tweaks, your living room transforms into a personal theater, where every viewing is an experience to remember.


