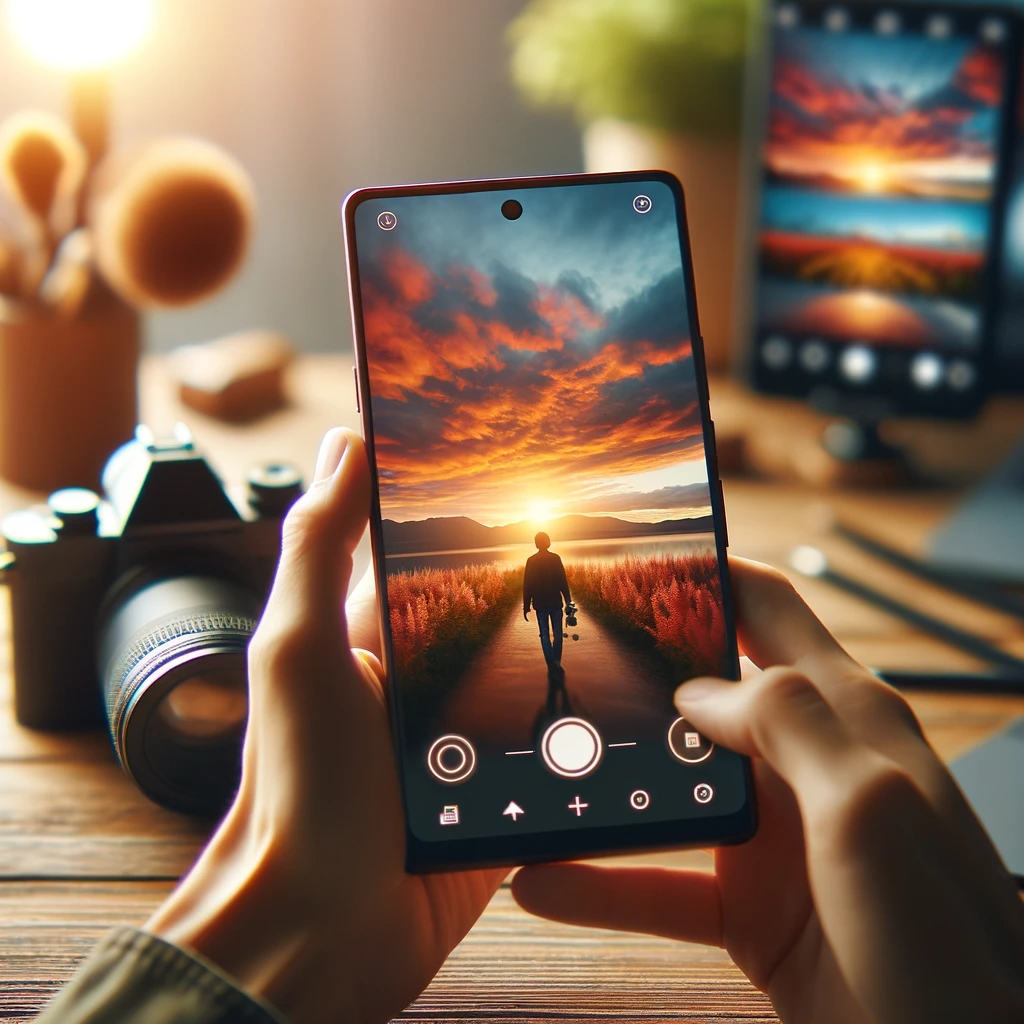
Unlock your smartphone’s full potential and master the art of photography with these simple steps!
Dive into the world of smartphone photography, where powerful cameras fit right in your pocket. Our guide simplifies the art of capturing stunning images with your phone. Whether a novice or a seasoned shutterbug, these easy steps will elevate your photography skills, transforming everyday moments into masterpieces.
Understanding Your Smartphone Camera
Exploring Camera Specifications
In smartphone photography, understanding your device’s camera specifications is the first step to unlocking its potential. Modern smartphones come equipped with cameras that rival traditional digital cameras, but what do these specifications mean for your photography?
The primary specification is the camera’s resolution, measured in megapixels (MP). While a higher MP count can mean more detail in your photos, it’s not the sole factor determining image quality. The sensor size is equally important; a larger sensor can capture more light, improving photo quality, especially in low-light conditions.
Another crucial specification is the aperture, which refers to the opening that allows light into the camera. Expressed in f-numbers, a lower number signifies a broader aperture, desirable for low-light photography and achieving a blurred background effect, known as bokeh.
Many smartphones now feature multiple lenses, each serving a different purpose. The standard lens suits general photography, while telephoto lenses are excellent for zooming in without losing quality. Wide-angle lenses allow for broader scenic shots, making them ideal for landscapes or group photos.
Optical Image Stabilization (OIS) is another feature to look out for. OIS minimizes blurring and compensates for a handshake, ensuring sharper images, particularly in motion or low-light conditions.
Utilizing Camera Settings and Modes
Once you’re familiar with your smartphone camera’s specifications, the next step is to make the most of its settings and modes. Modern smartphones offer a range of settings that can be adjusted to enhance your photography, even if you’re not a professional.
The automatic (auto) mode is a great starting point for beginners. It adjusts settings like exposure, focus, and white balance automatically. However, exploring manual mode opens up more creative control. In manual mode, you can adjust the ISO (sensitivity to light), shutter speed (how long the sensor is exposed to light), and aperture (if your phone allows it). Playing with these settings can dramatically change the look and feel of your photos.
The HDR (High Dynamic Range) mode is handy in high-contrast situations. It combines multiple shots at different exposures into one photo with balanced highlights and shadows. This mode is perfect for scenes with bright skies and dark foregrounds.
Many smartphones also feature a portrait mode, which creates a depth-of-field effect. This mode blurs the background while keeping the subject sharp, mimicking the effect of a professional camera lens.
Night mode is a recent advancement in smartphone photography. This mode takes longer exposures to capture detailed images in low-light conditions without a flash. It’s ideal for capturing scenes at dusk or in dimly lit environments.
Experimenting with these different settings and modes can significantly enhance the quality of your photos. Understanding when and how to use them based on your environment and the subject matter is critical to taking your smartphone photography to the next level. With practice, you can start taking photos that are not just snapshots but genuine expressions of your creativity and perspective.
Composition and Lighting Techniques
Mastering the Rule of Thirds
A fundamental aspect of photography, the Rule of Thirds, is a powerful composition technique that can transform your smartphone photos from ordinary to exceptional. This rule involves dividing the image using horizontal and vertical lines, creating nine equal segments. The key is to place the most essential elements of your photo at the intersections or along these lines.
When using the Rule of Thirds, the subject of your photo is slightly off-center, often creating a more aesthetically pleasing and balanced image. This technique is particularly effective in landscape photography, where you can align the horizon with one of the horizontal lines, or in portrait photography, where the subject’s eyes can be placed at one of the intersections. Most smartphone cameras have a grid feature that can be enabled to help you apply this rule while framing your shot.
Harnessing Natural and Artificial Light
Lighting is a crucial element in photography, and understanding how to use natural and artificial light can significantly enhance your images. Natural light, provided by the sun, is often the best light source for photography. The golden hours, just after sunrise and before sunset, offer soft, warm light that can add a beautiful glow to your photos.
When shooting in natural light, be mindful of the direction of the light. Front lighting can illuminate your subject evenly, while side lighting can create exciting shadows and depth. Backlighting, where the light is behind the subject, can make a silhouette effect or a halo of light around the subject.
Artificial light includes sources like lamps, overhead lights, and flashes. While more challenging, artificial light can be used creatively to illuminate your subject or create a particular mood. For instance, using a single light source in a darker setting can produce dramatic, high-contrast images. Your smartphone’s built-in flash can be helpful, but it’s often better to use external light sources for a more natural effect.
Experimenting with different lighting conditions and understanding how light affects your photos is critical to improving your smartphone photography. You can capture images with the right atmosphere, clarity, and mood by mastering light.
Advanced Smartphone Photography Tips
Using HDR and Panorama Modes
To elevate your smartphone photography, embracing advanced features like HDR (High Dynamic Range) and Panorama modes is essential. HDR mode is handy in situations with high contrast, where the photo’s light and dark areas are crucial. When activated, it combines multiple shots at different exposures into one well-balanced image. The result is a photo with rich colors and balanced lighting, capturing details in the brightest and darkest areas.
On the other hand, Panorama mode allows you to capture a much wider field of view than possible with a single shot. Ideal for expansive landscapes, cityscapes, and large group photos, this mode involves slowly moving your camera to capture a continuous horizontal or vertical scene. The smartphone stitches these images together to create a single wide-angle photo. The key to a good panorama is a steady hand and a smooth, consistent motion.
Exploring Editing Apps for Enhancements
Post-processing can significantly enhance the quality of your smartphone photos, and many editing apps are available to help with this. These apps offer a range of features, from basic adjustments like cropping, brightness, and contrast settings to more advanced options like color grading, filters, and layer effects.
Apps like Adobe Lightroom and VSCO offer professional-level editing tools and presets that can give your photos a polished look. These apps can help adjust the exposure, tweak the white balance, or add artistic touches to your photos. They also provide tools for sharpening, noise reduction, and correcting lens distortions, common issues in smartphone photography.
Snapseed is another popular choice, known for its intuitive interface and powerful editing capabilities. It includes selective edit brushes and a healing tool to remove unwanted objects from your images. For those looking to add creative effects, apps like Prisma can transform your photos into artwork using the styles of famous artists and art movements.
When editing, the key is subtlety – enhancements should improve the photo without making it look overprocessed. Experimenting with different apps and tools can help you develop your editing style and bring out the best in your smartphone photos.
Conclusion
In summary, mastering smartphone photography involves:
- Understanding your device’s capabilities.
- Employing effective composition and lighting techniques.
- Exploring advanced features like HDR and Panorama modes.
By embracing these principles and enhancing your skills with editing apps, you can transform everyday moments into stunning visual stories. Whether you are a novice or an avid photographer, these tips will elevate your smartphone photography, allowing you to capture the world through a lens of creativity and technical prowess, turning your smartphone into a powerful tool for artistic expression.


